Configuration
Facebook Pixel Implementation Guide
Navigate to Facebook Help Center - Facebook Implementation Guide and read the documentation.
The Facebook Pixel ID is the same id as its predecessor, the Custom Audience Pixel. In case you haven't created a Custom Audience Pixel previously, follow these guidelines to create a Facebook Pixel ID:
- Go to your Facebook Pixel tab in Ads Mananger.
- Click Create a Pixel.
- Enter a name for your pixel. There's only one pixel per ad account, so choose a name that represents your business.
- Make sure you've checked the box to accept the terms.
- Click Create Pixel.
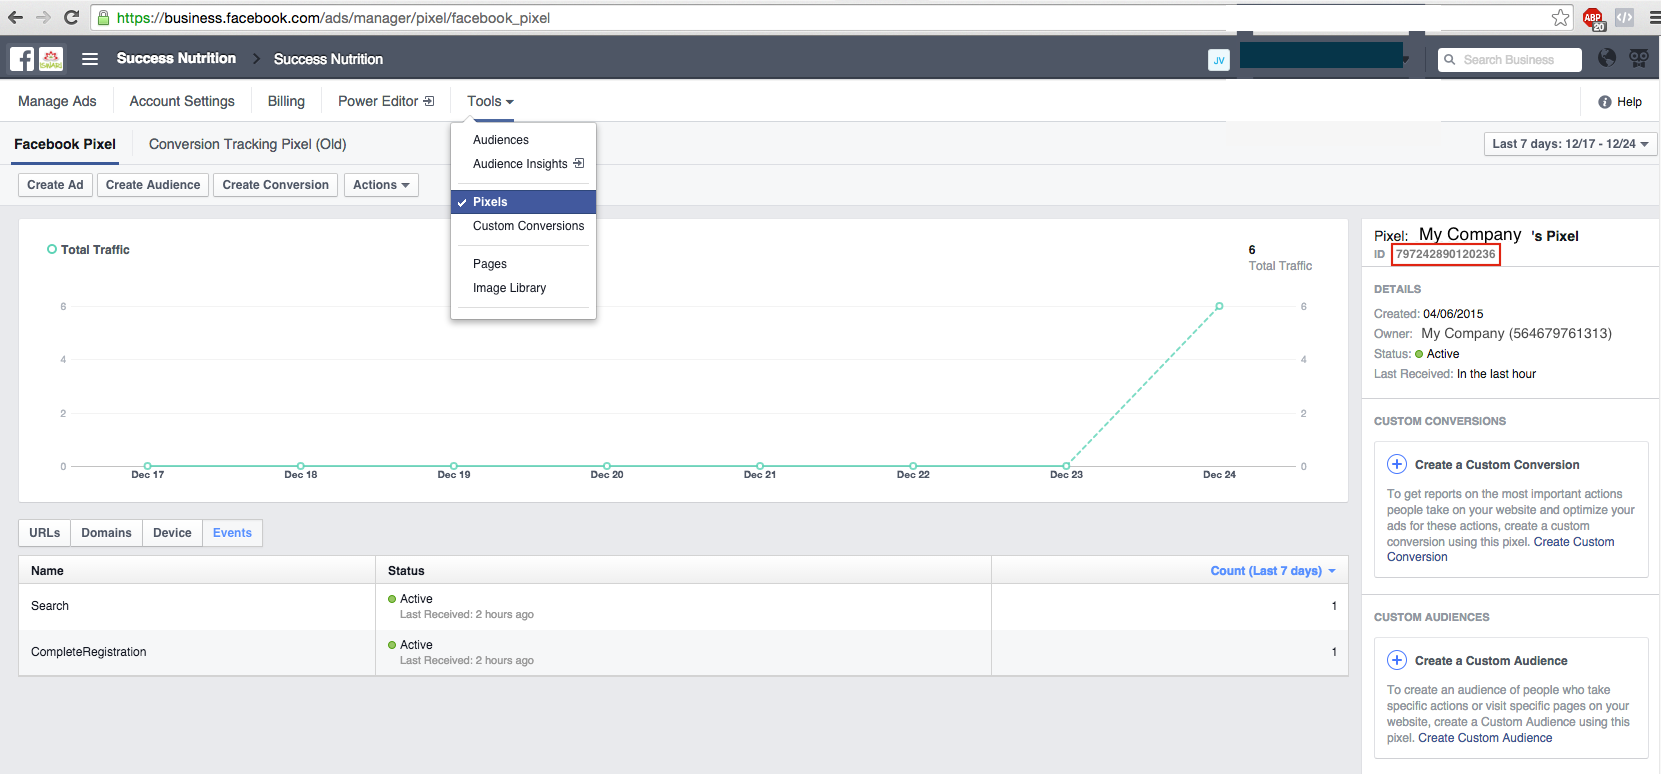 Select and copy (Ctrl-V) your Pixel ID (upper right corner)
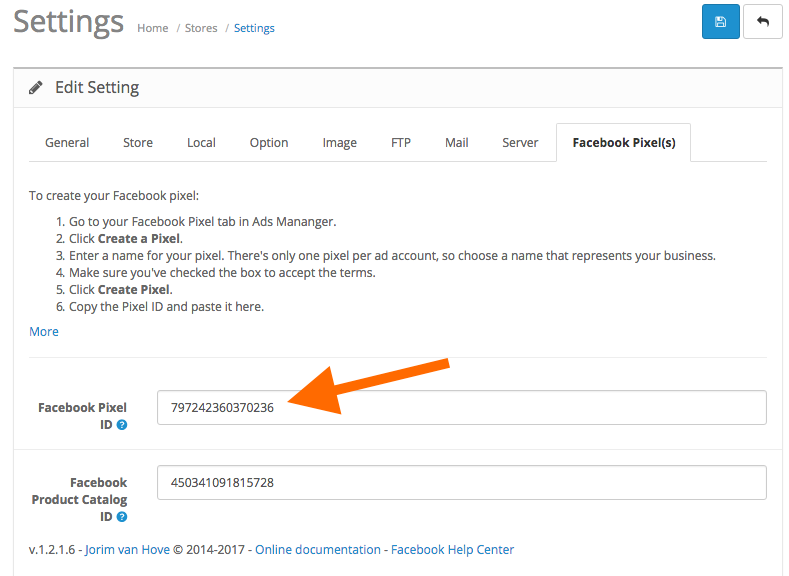
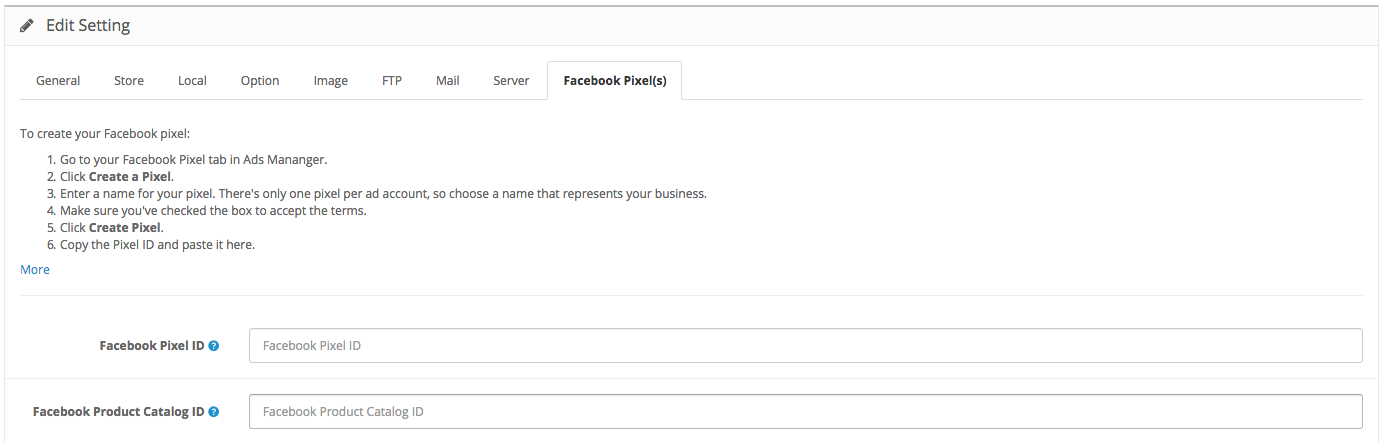
In the backend of your webshop navigate to System/Settings and click the 'Edit' button next to the webshop where you want to implement a Facebook Pixel.
Under the 'Facebook Pixel(s)' tab, paste the Facebook Pixel ID in the designated input field.
To learn how to fully benefit from this Facebook feature visit the Facebook Help Center - Audiences section
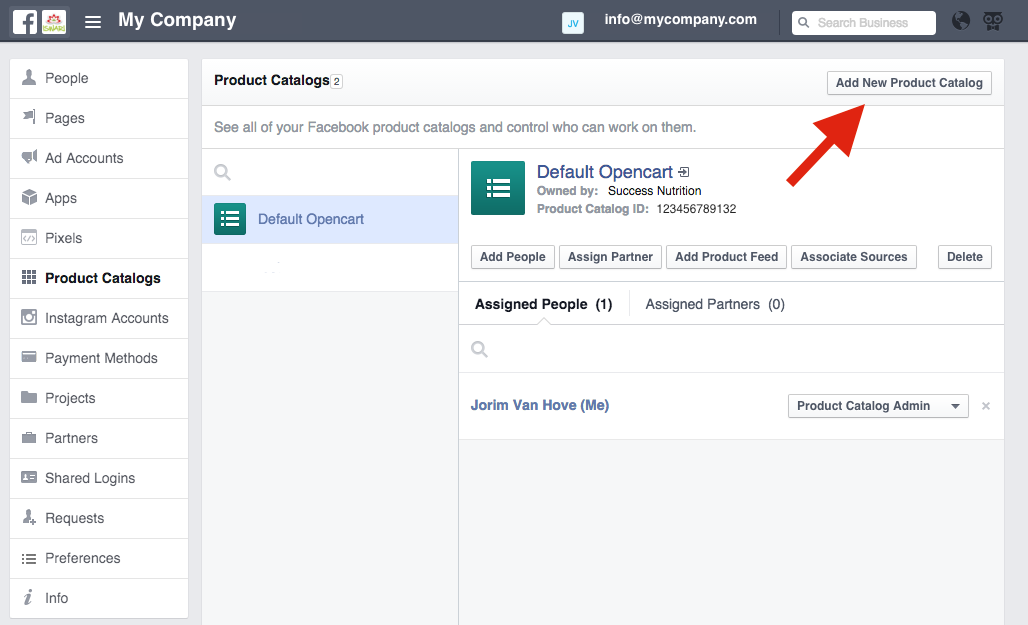
Facebook Product Catalog
To run Dynamic Product Ads (DPA) campaigns, you will have to upload your product catalog to the Facebook Business Manager.
Configuring Facebook Conversion Pixels
The conversion tracking pixels will be removed in the second half of 2016, and replaced by the Facebook Pixel (former Custom Audience Pixel).
Navigate to the Facebook Ads Manager and select 'Conversion Tracking'.
Click on the Create Pixel button in the upper right corner of the screen, a popup window will appear.
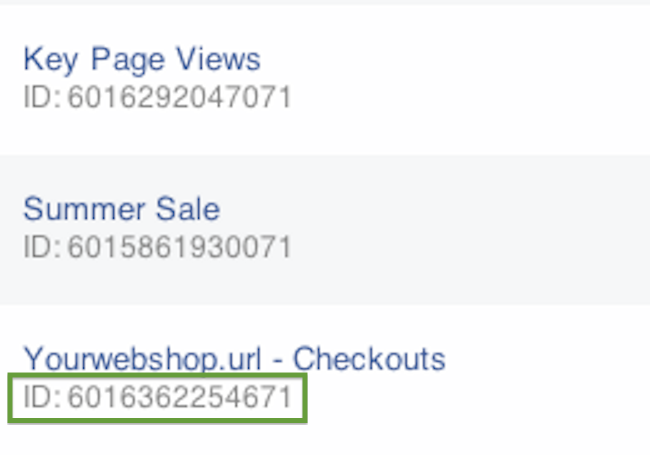
Choose an appropriate category from the dropdown and name your pixel. It is good practice to include the webshop url/name and campaign name in the pixel name eg. Yourwebshop.url - Campaign
Confirm by clicking 'Create Pixel'.
Next, a popup window 'View Pixel Code' will appear. You can close this window and return to the Conversion Tracking pixel overview.
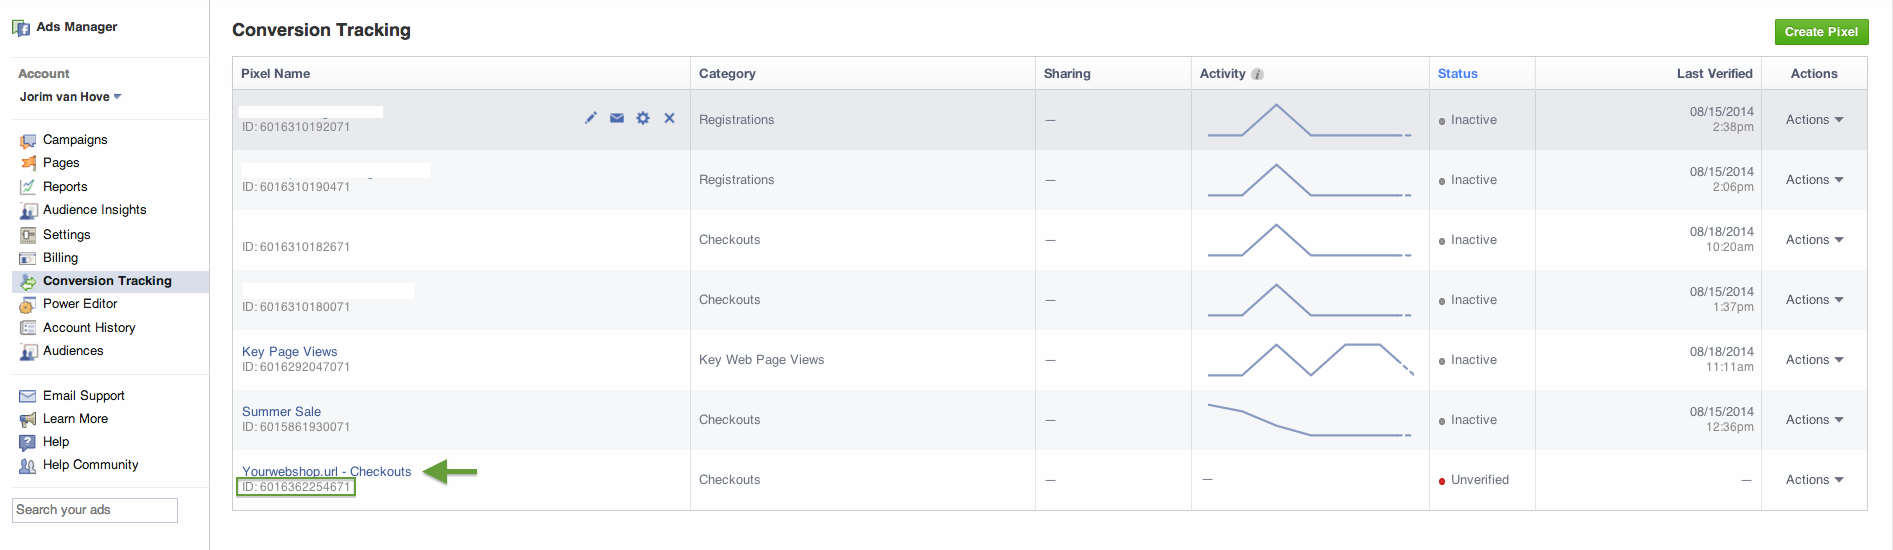
Select and copy (Ctrl-V) your pixel ID
In the backend of your webshop navigate to System/Settings and click the 'Edit' button next to the webshop where you want to integrate your conversion pixel. Under the 'Facebook Pixel(s)' tab create a pixel by clicking on 'Add Conversion Pixel'.

Paste in the pixel ID and select the appropriate Conversion Pixel Category for the pixel:
Checkouts:
A second dropdown will appear where you can choose between the default checkout/success page or a custom checkout/success page (eg. checkout/custom_success).
For the default success page both Path and Value will be automatically set to the correct setting. The input fields are read-only, user input is disabled.
For custom success pages, the Path should be set to the corresponding path, usually similar to checkout/custom_success_page where you replace the custom_success_page with the actual value to reach the custom page. The Value will be automatically set to match the order total.
Registrations:
A second dropdown will appear where you can choose between new customer registrations or new affiliate registrations. The Path field will be set according to the select option. The Value field can be used to input a value for the conversion.
Leads:
The Path can be set to any page where a conversion pixel should be displayed. Set Path to the seo keyword of the page. The Value field can be used to input a value for the conversion.
Key Page Views:
A second dropdown will appear where you can choose between 'Product Page', 'Category Page', 'Manufacturer Page' & 'Information Page'. In the Path field you can then search for the product, category, manufacturer or information page you want to display a conversion pixel on. Type in at least three characters and autocomplete will suggest possible matches. Select the desired page and optionally set the Value field to hold a value for the conversion.
Adds To Cart:
Both Path and Value will be automatically set to the correct setting. The input fields are read-only, user input is disabled. In the conversion pixel, the added product's price will be set as pixel value.
Other:
The Path can be set to any page where a conversion pixel should be displayed. Set Path to the seo keyword of the page. The Value field can be used to input a value for the conversion. Useful for displaying a conversion pixel on the homepage.
To display a facebook conversion pixel on the homepage (eg. yourstore.com) set Category to 'Other' and Path to 'home' and make a duplicate with Path set to 'common/home'.
To track conversions on other pages, there is a different approach depending on whether SEO URL's is enabled or not:
- Example 1 - SEO URL's disabled:
- Your URL's look similar to yourwebshop.com/index.php?route=product/manufacturer/info&manufacturer_id=5
- Set Path to the portion following the ?route=, for the above url this would be product/manufacturer/info&manufacturer_id=5
- Example 2 - SEO URL's enabled:
- Your URL's look similar to yourwebshop.com/seokeyword
- Set Path to seokeyword
Finally, in the
Status column it is possible to enable/disable the conversion pixel.
Click Save when you are finished configuring the pixel(s).
For easy troubleshooting it is recommended to use the Facebook Pixel Helper (for Chrome).
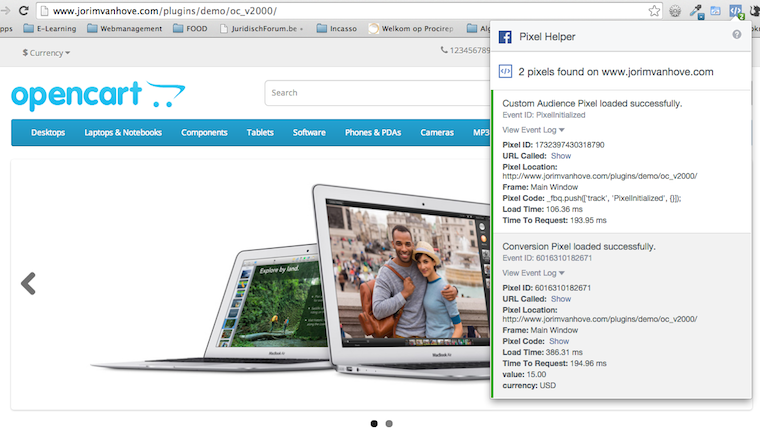
 button. Done!